
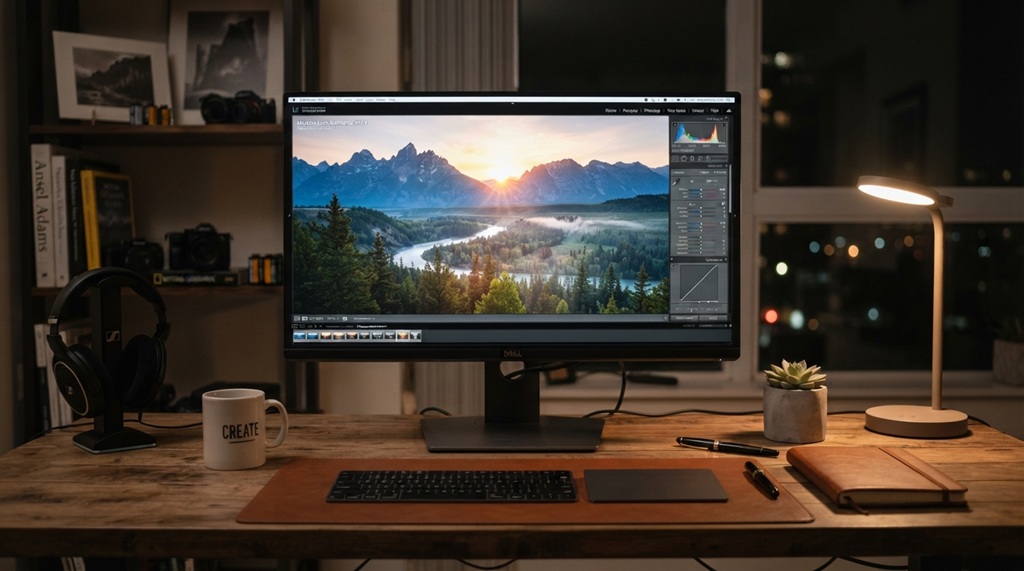
You don’t need a design degree to edit photos like a pro anymore. AI-powered tools now handle the technical work for you. Skin retouching, background removal, and color grading now take seconds, not hours.
This shift matters. Photo editing used to have a steep learning curve. Machine learning models can now recognize faces, objects, and skies automatically. The software does the detection work. You just guide the result.
This guide shows you exactly how to use AI editing tools the way professionals do. We’ll also cover a technique most beginner guides skip entirely.
What Makes AI Photo Editing Different From Traditional Editing
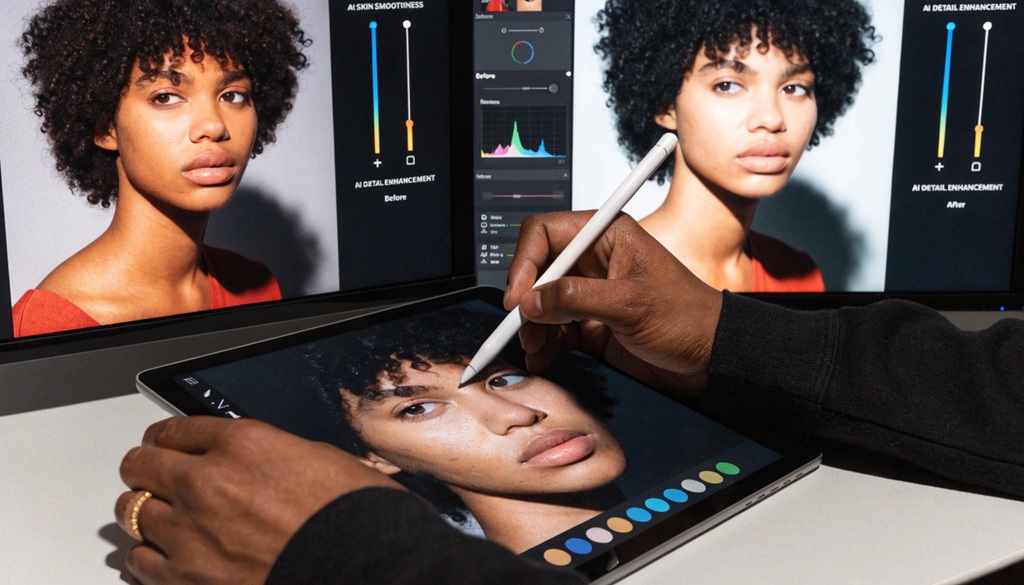
AI photo editing understands what is in the image, not just where the pixels are. A traditional tool asks you to select an object by hand, using a lasso or pen tool. An AI tool recognizes “this is hair” or “this is sky” and edits it accordingly.
This changes your whole workflow:
- Traditional editing requires you to build every effect from scratch. You mask, dodge, burn, and adjust color curves manually.
- AI editing applies context-aware adjustments instead. A “sky replacement” tool detects the horizon, matches lighting, and blends edges without manual masking.
- Speed is the biggest difference in practice. A 20-30 minute traditional edit often takes under two minutes with AI.
This doesn’t make traditional skills useless. Composition, light, and color theory still separate good edits from great ones. AI just removes the technical friction. Your creative judgment matters more than your technical execution.
How to Choose the Right AI Photo Editing Software
The right software depends on what you’re editing and how much control you want. Not every tool suits the same job. Matching the tool to your use case saves time and money.
For Quick Social Media Edits
Speed matters most here cropping, filters, and light retouching for Instagram or TikTok. Look for mobile-first apps with one-tap AI enhancement. These tools favor simplicity over deep control, which is exactly what you want when editing on the go.
For Portrait and Product Photography
Professional portrait and product work needs dedicated AI tools. Look for skin smoothing that preserves texture instead of making skin look plastic. Automatic eye and teeth whitening helps too. Product photographers should check background removal accuracy closely. Flat, shadowless cutouts look unnatural, so shadow generation matters.
Master Precision Retouching Through Hybrid AI Control
Top-tier photo retouchers view artificial intelligence not as an autopilot replacement, but as an indispensable digital assistant. By selecting desktop software that allows for precise manual adjustments to AI-generated masks, professionals leverage algorithm-driven efficiency for the heavy lifting while reserving the final refine for human nuance. Adopting this high-level workflow ensures complete creative control over your imagery—and once you have optimized your visual editing pipeline, you can streamline the rest of your operations by learning automate daily tasks using smart AI tools & bots.
Step-by-Step: How Professionals Edit Photos With AI Tools
Professionals follow a consistent sequence. They don’t apply filters at random. This sequence is what separates a polished result from an obviously “AI-edited” one.
- Fix exposure and white balance first. AI auto-enhance tools correct lighting and color temperature in one click. This gives you a clean base before any creative work begins.
- Use AI subject detection for selective edits. Isolate the subject — a person, product, or object. Brighten or sharpen just that area without touching the background.
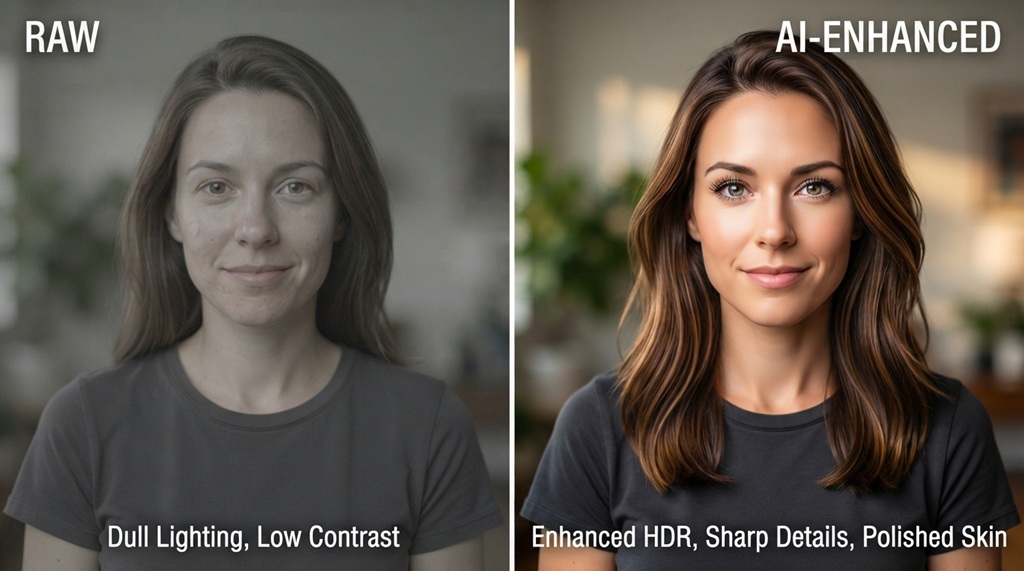
- Apply retouching tools with a light hand. AI skin and blemish tools often default to a strong effect. Dial the intensity down to 30-60%. Skin should still look like skin, not airbrushed plastic.
- Save background tools for last. Remove backgrounds or replace skies only after the subject is color-corrected. This makes the two elements blend naturally instead of looking pasted together.
- Finish with color grading, not just filters. A filter applies one flat effect to the whole image. Color grading shifts shadows, midtones, and highlights independently. The result looks more cinematic and intentional.
The Overlooked Trick: Editing Consistency Across a Photo Set
Most beginner guides only cover a single photo. Professionals rarely edit just one. They edit a set, and consistency across that set makes a portfolio or product catalog look cohesive instead of random.
Here’s the trick most tutorials skip. Many AI tools now let you save an edit as a reusable style profile. Train it on your first edited photo, then batch-apply that same look across dozens or hundreds of images. The AI adjusts for differences in lighting and framing automatically. A traditional preset applies identical settings blindly, no matter the photo’s original exposure. An AI-adjusted batch edit compensates for a slightly darker or brighter shot while keeping the overall tone consistent.
Take one tip from this article: edit your best photo first. Generate a style profile from it. Batch-apply that profile, then manually tweak only the outliers. This single habit often separates an amateur-looking gallery from a professional one.
Common Mistakes to Avoid When Using AI Editing Tools
The biggest mistake is trusting AI defaults too much. Treat them as a starting point instead. AI suggestions target the average photo, not your specific photo. Accepting every automatic adjustment often produces an overprocessed, unnatural look.
Other frequent mistakes include:
- Over-smoothing skin until texture disappears. This reads as fake even to casual viewers.
- Ignoring lighting mismatches during background replacement. If the light direction on your subject doesn’t match the new background, the image looks obviously composited.
- Upscaling low-quality images and expecting miracles. AI can enhance detail, but it can’t invent detail the camera never captured.
- Skipping manual review of AI-generated edges. Hair and fine detail are where masking errors show up most.
Industry experts generally agree on this: treat AI as a collaborator, not a full autopilot. Reviewing and adjusting AI output remains a core part of a professional workflow. It’s not an optional step.
Is AI Photo Editing Good Enough to Replace Manual Editing?
For most everyday and social use cases, yes AI can replace manual editing. It hasn’t fully replaced manual work in high-end professional photography, though. Quick turnarounds like social content, e-commerce listings, and everyday portraits now get publish-ready results from AI with minimal manual correction.
Manual editing still matters where precision counts most. Fine art photography and complex commercial retouching with strict brand guidelines fall into this category. AI’s pattern-based guesses about texture and lighting don’t always match a photographer’s exact creative intent. Most professionals today blend both approaches. They use AI for speed and first-pass corrections, then manual tools for final precision.
FAQ
Does AI photo editing reduce image quality?
No. Used correctly, AI editing generally preserves or even improves perceived image quality through noise reduction and detail enhancement. Quality loss usually happens when you push AI tools to extremes, like heavy upscaling of very low-resolution originals.
Can AI editing tools work on old or low-resolution photos?
Yes. Many AI tools include restoration and upscaling features built specifically for old or low-quality photos. Results vary based on how degraded the original image is AI can enhance existing detail, but it can’t fully recreate detail that was never captured.
Do I need expensive software to edit photos like a professional?
Not necessarily. Many free or low-cost AI editing apps now include features that once required expensive professional software. Higher-end paid tools mainly add finer manual control, batch editing, and higher-resolution output.
Is it obvious when a photo has been AI-edited?
It can be, if you overdo it. Watch for overly smooth skin, mismatched lighting on composited backgrounds, or unnaturally sharp details. Subtle, well-reviewed AI edits typically look indistinguishable from manual professional editing.
What’s the fastest way to improve my photo editing with AI?
Start with one-click auto-enhance as your base correction. Then adjust retouching intensity by hand instead of accepting default settings. Building a style profile from your best edit, as covered above, also speeds up an entire photo set at once.
Conclusion
Editing photos like a professional no longer takes years of technical training. AI software now handles detection, masking, and correction automatically. You get to focus on creative decisions like tone, mood, and consistency instead. The real skill today isn’t mastering complicated tools it’s knowing how to guide AI suggestions, dial back defaults when needed, and apply techniques like style-profile batch editing to keep a photo set looking cohesive. Used thoughtfully, AI doesn’t replace your creative eye. It just removes the technical barriers that used to stand in its way.

Leave a Reply